The frame is a wooden frame or from other materials, which is designed and made according to the taste of the owner, the function of the frame itself as the laying of shutters, glass, and tralis. For the selection of frames, the advantages and disadvantages must be considered and the technique of installing frames is also no less important because this will greatly affect the appearance of the window and if the installation technique is inadequate, it will cause the frame to be less strong and sturdy.

Before choosing the frame to be used, knowing the type of frame material is also very important, therefore the following frame materials include:
- Wood Material: this type of wood material is very much used because wood will give a natural, beautiful and very good impression, buildings that usually use this wood material for example traditional and modern buildings. In terms of manufacture, shape, and size is also very flexible, the disadvantages of wood types are quite expensive, cannot withstand weather changes, therefore wood material is more often used indoors.
- Aluminum Material: many buildings today also use types of aluminum materials, both contemporary concepts, industrial and so on, the advantages of aluminum are termite proof, sturdy, and weather resistant, for the disadvantages are not flexible like wood materials
- PVC material: this material is often used because the price is quite cheap, flexible in manufacturing and installation faster. The drawback is not sturdy like wood is usually applied in the bathroom and used in areas that are directly exposed to weather changes
- UPVC material: this material is almost similar to pvc material but has the difference that this material has been reprocessed so that it is stronger, sturdy, hard and environmentally friendly, the price is more expensive than pvc
- Iron Material: made of iron then the finishing is mixed with paint, usually used in industrial-style buildings
- Custom Material: this material is made of cast wood, aluminum, upvc. pvc.this material can add to the appearance of different buildings depending on the creativity of the homeowner
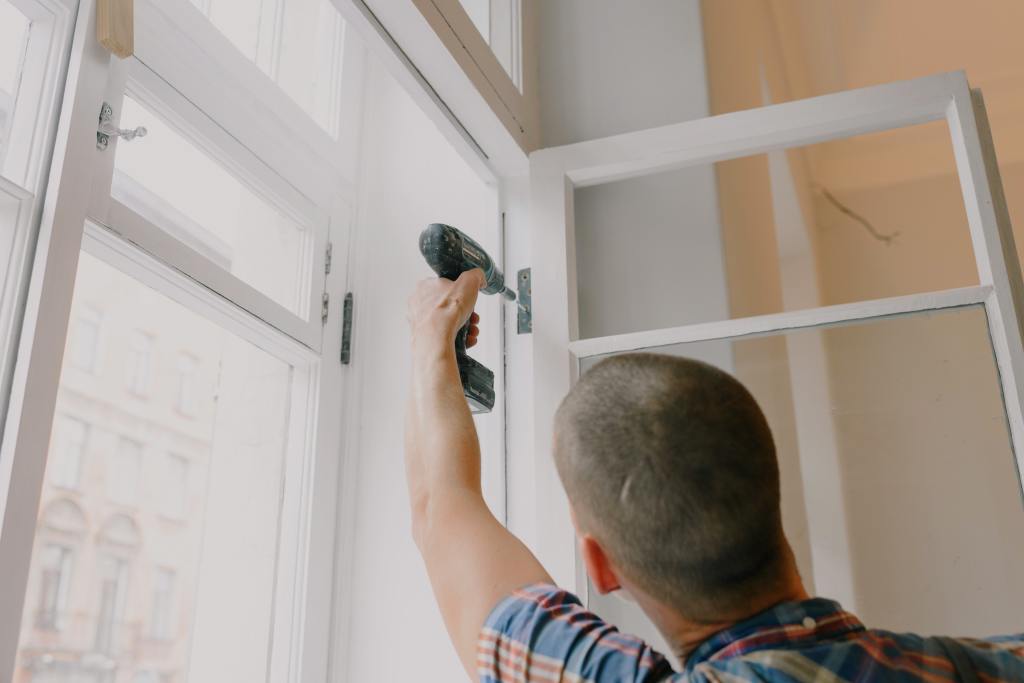
To install the frame must be really thorough, because installing window sills must be neat, even, and not tilted everything must be balanced, because the function of the frame itself as a place for laying shutters. Therefore, prepare tools in advance what must be used such as measuring hoses, threads, weighing threads, drilling tools, wooden frames, screwdrivers, window hinges, wood carvings, bolts, measuring instruments and so on.
The selection of the appropriate frame will provide a sense of satisfaction, after the selection of the appropriate frame and the equipment has fulfilled, the next step is to know how to install window sills, here are examples of steps to install wooden window frames:
- Before installing window frames, namely signaling using a pencil on window frames related to each size.
- And make a straight line using thread, namely installing the armature first using a large nail beside the frame, stretch the thread with a distance of half the thickness of the frame on the bouwplank axle to make it strong and sturdy
- Measure the Mall, for example, about 30cm from the top as a guideline for the height of the mall.
- Raise the frame on the flat brick according to the pre-arranged bouwplank axle
- When the frame has been installed, then install reinforcement belts on all sides of the frame so that it is not easy to shift
- Then attach the thread again to the pole and spread the thread to the doorpost, this way it will know its height and straightness,
- The process of adjusting the height elevation and ensuring the flatness of the frame so that it does not grip, when something is gripping, it readjusts its position so that it is flat.
- Finally, clean the location around the frame
When the installation of window sills is complete, the next step is to install shutters. Here are the steps, namely:
- Check again by measuring the elbow of the shutter, after measuring and then fitting
- When fitting the shutters to the frame when it does not fit, it needs to be repaired by marking or lining with a pencil then welding or cutting the shutters to adjust the size of the frame
- Hinge installation: before installing hinges, first measure the shutters and frames, then chisel the shutters and frames that have been marked with lines, when finished then install hinges on the shutters and frames, for example using standard sizes can use hinges installed below and above with a distance of 15cm each. This hinge function is to make it easier to open and close windows. The installation of hinges on this frame also serves so that the shutters can stick firmly and not easily come off.
- After all the hinges are installed, then try to open and close the shutters again according to the direction of installation, good windows when opened or closed do not drag

Leave a comment